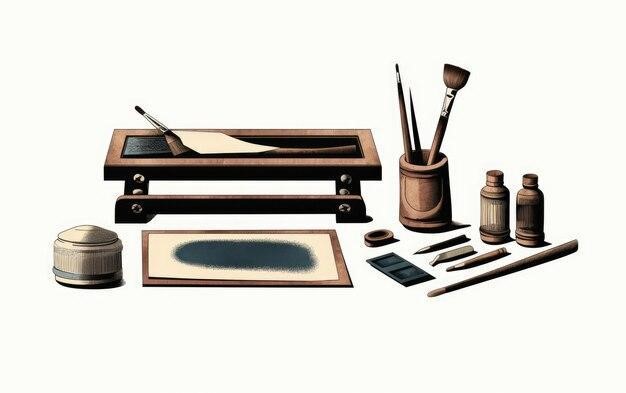
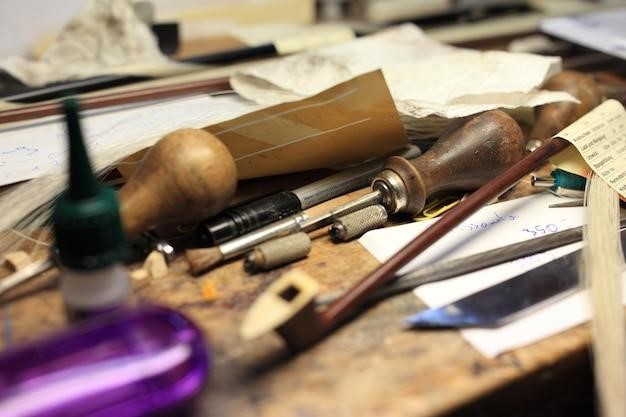
As a classical printing technique, Lino printing can be a perfect way to print any object, art, or shape your desire. The process is simple, even for beginners interested in creative DIY projects, making unique items for various needs.
Making beautiful, bold prints with amazing cuts and shapes can be challenging since it requires expertise. However, if you have some artistic skills, you only need a Lino printing block and can literally carve anything.
Rather than buying art, cards, and stamps, logo printing can be a perfect way to create uniquely designed art. You can also engage in such projects if you need something vintage that would otherwise be expensive to purchase.
Due to its versatility, you can create different art forms or engage in other DIY projects for creative purposes. For starters, here are some Lino printing DIY projects you can try.
1. Geometric Patterns
Creating the perfect geometric patterns is perfect for your kid or the student to learn practically. You can create your own rather than buying all the geometrical shapes and other geometric figures. Using the Lino printing kit, you can easily create shapes based on your online configurations and designs.
For a nice effect, you can select different colors for different shapes. For a better effect, you can create shapes based on the kid’s favorite colors.
Unlike other complex prints, creating these shapes will require less time and skills. For an amazing effect, you can create multiple shapes on the same platform to teach kids how to differentiate the shapes. You can use the Lino printed shapes to train your kid on geometry basics to complement school learning.
2. Creating Greeting Cards
Rather than sending traditional greeting cards made of paper and other paper films, you can do something unique. The most unique thing to do is to print a greeting card with a perfect message. Through Lino printing, you can design a one-of-a-kind card for business needs.
After designing your card, paint the Lino block in a thin film to create a good background. Next, carve the areas you want to remain for printing. This is the first step, and you should carefully create the perfect block and card.
Next, create the backdrop by applying a uniform color to the curved lino block. You can use different colors from top to bottom or uniform colors.
Before the ink on the Lino dries, place it face down on the carved card stock with the greeting card. Rub the card stock gently with your hand to transfer the ink. Ensure the cardstock remains uniform to avoid damaging the original design.
Finally, peel the card or the card stock to reveal your perfect print.
3. Art Printing
As art gains value, the prices keep rising, making it challenging to get the perfect art for your space, like a wall, home décor, or office. Sometimes, the problem is getting the perfect art for your space. In such instances, you can figure out the perfect art draw online and then transfer the art to the lino block to create your print.
You can draw the image on the lino and carve out the other areas to leave an amazing piece of art behind. You can make the edges smoother or rougher to achieve a perfect finish.
After that, you can ink the curved block to create the perfect impression or color effect. Be careful when selecting the colors since lino art is perfect for maintaining simple colors.
However, you can consider bold ones; you must perfectly blend the colors. Ideally, the type of art will determine the final colors.
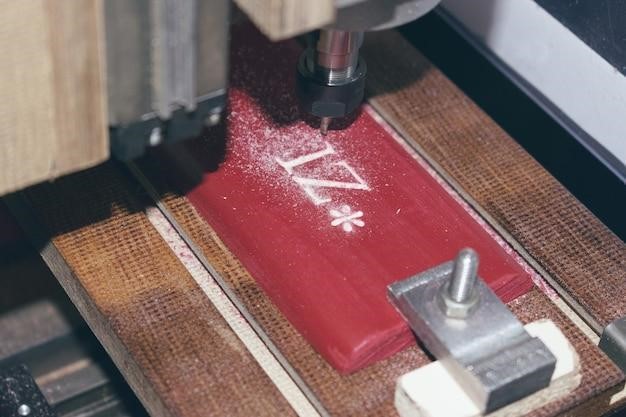
4. Custom Stamps
Rather than sending plain letters, you can create simple signs and logos, especially if you have a brand. Although the stamp may lack essential elements like the date, it can be perfect for business promotion. The printed stamps can be used for other purposes, such as stamping your business cards and other greetings you send to customers.
Applying a thin layer of oil-based ink to the curved surface is unlike other prints. This will enable you to create a shiny backdrop, making the stamp colors more visible.
Also, remember how you print the stamp to ensure it appears fully. Allow the paper to stick longer on the curved lino block, and rub the paper repeatedly to allow the stamp to stick effectively.
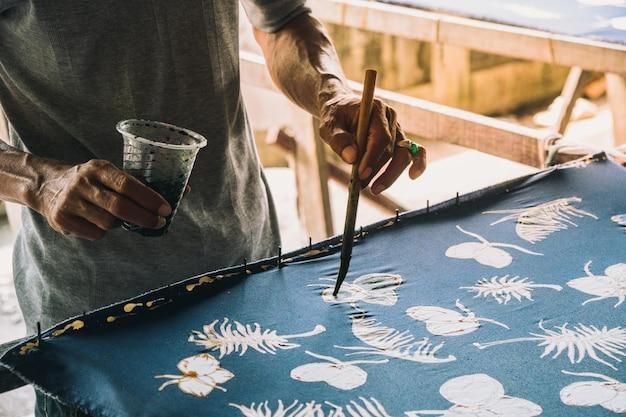
5. Fabric Printing
When printing shirts and fabric for special events, you can improve by making a unique printing lino to ensure you make something unique. The generic patterns and prints can sometimes hardly stick, especially when you wash the fabric. Despite being energy-intensive, it is perfect for printing a few fabrics and clothes for special events.
Transfer the prints to fabric once you have the print design on the lino block. However, you must repaint the lino blocks before transferring them to the fabric. This is time-consuming and requires lots of diligence.
You cannot use the block consecutively on more than one fabric. However, you can use multiple lino blocks on the same fabric, especially if you want to print different elements.
Conclusion
Whether you have the skill or not, a lino printing project should not be that hard. Once you create the image you need to print, you need to curve the lino block and then transfer the image to the curved block. For an amazing appearance, focus on the color usage, blending, and backdrop you create.
Also Read: https://usatimenetwork.com/